Width alone rarely settles the round vs square face question. Two faces can have a similar length and cheek width while their lower outlines look quite different. One curves continuously toward the chin; the other changes direction more visibly at the jaw corners. Before changing a haircut or rejecting a pair of glasses, check which boundary you are actually seeing. Hair, expression, light and a close camera can all make that boundary harder to judge.
Match the photograph conditions before comparing shapes
Use a straight-on mirror view first. Move the hair away from both cheeks and keep your head level, with your jaw relaxed and lips resting naturally. You are looking for an ordinary outline, not the pose that makes it look most angular. A broad smile can change the cheeks; a clenched jaw can make the lower face look firmer. Neither expression is wrong, but comparing one with a relaxed reference adds unnecessary confusion.
If you take a photograph, place the camera farther away than a typical arm-length selfie and keep it roughly level with the middle of your face. Crop afterward without stretching the image. Choose soft front light so that a dark shadow beside the jaw does not become the edge you trace. A slight turn of the head hides one side and changes the apparent width of the other, so take a second shot if the ears look noticeably uneven.
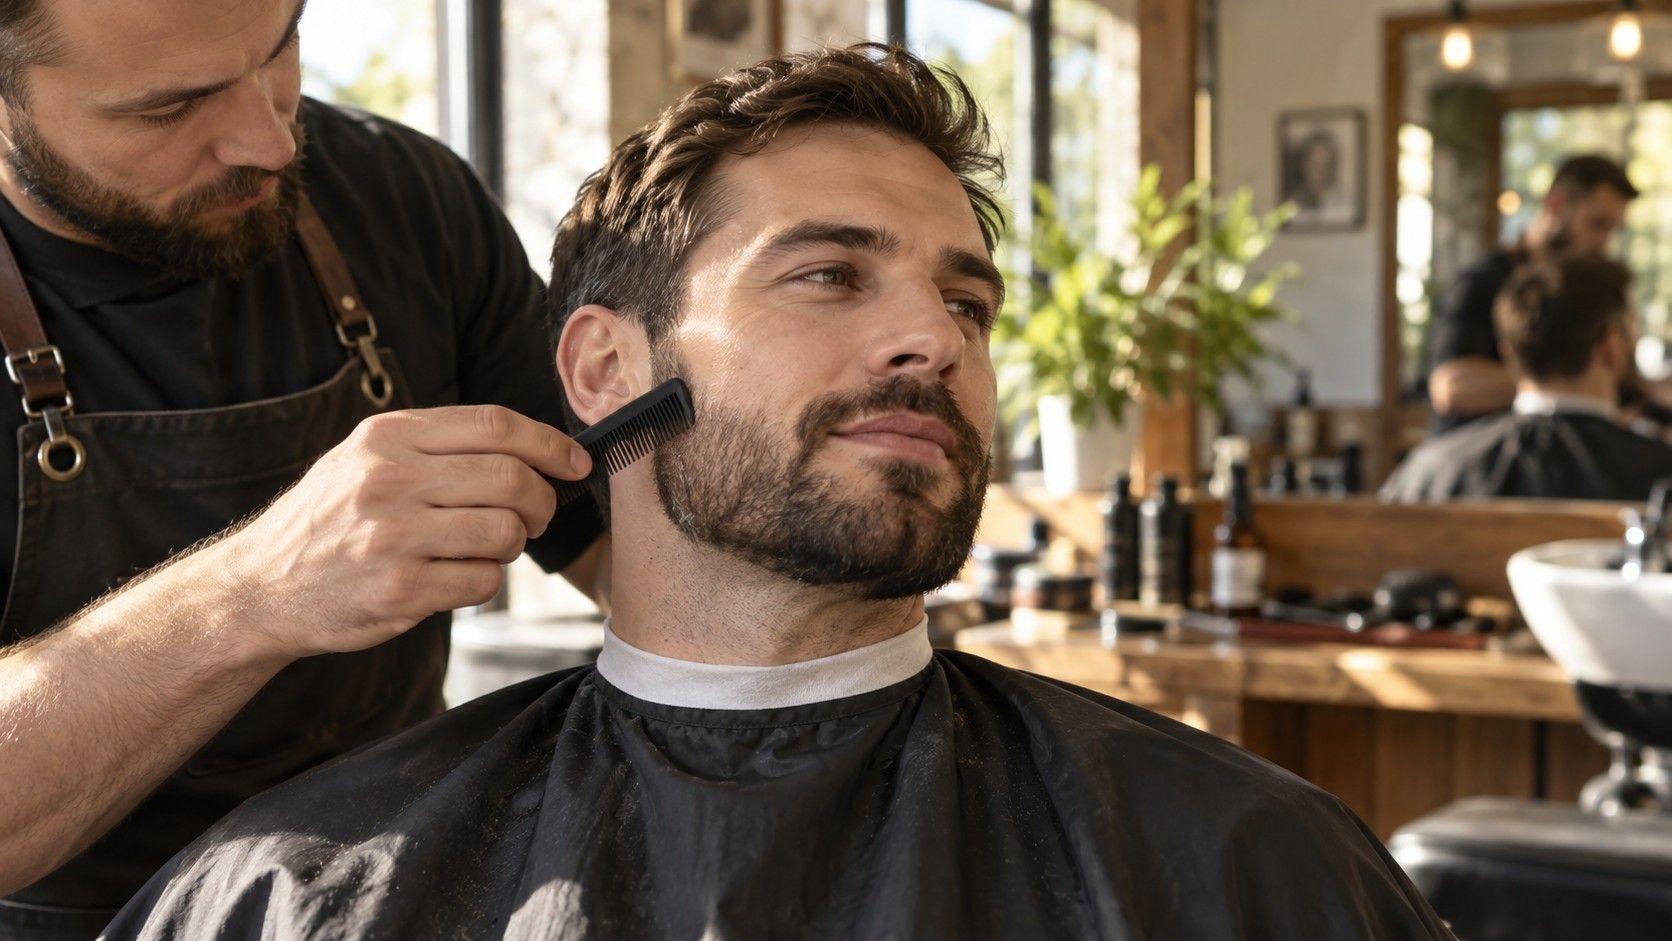
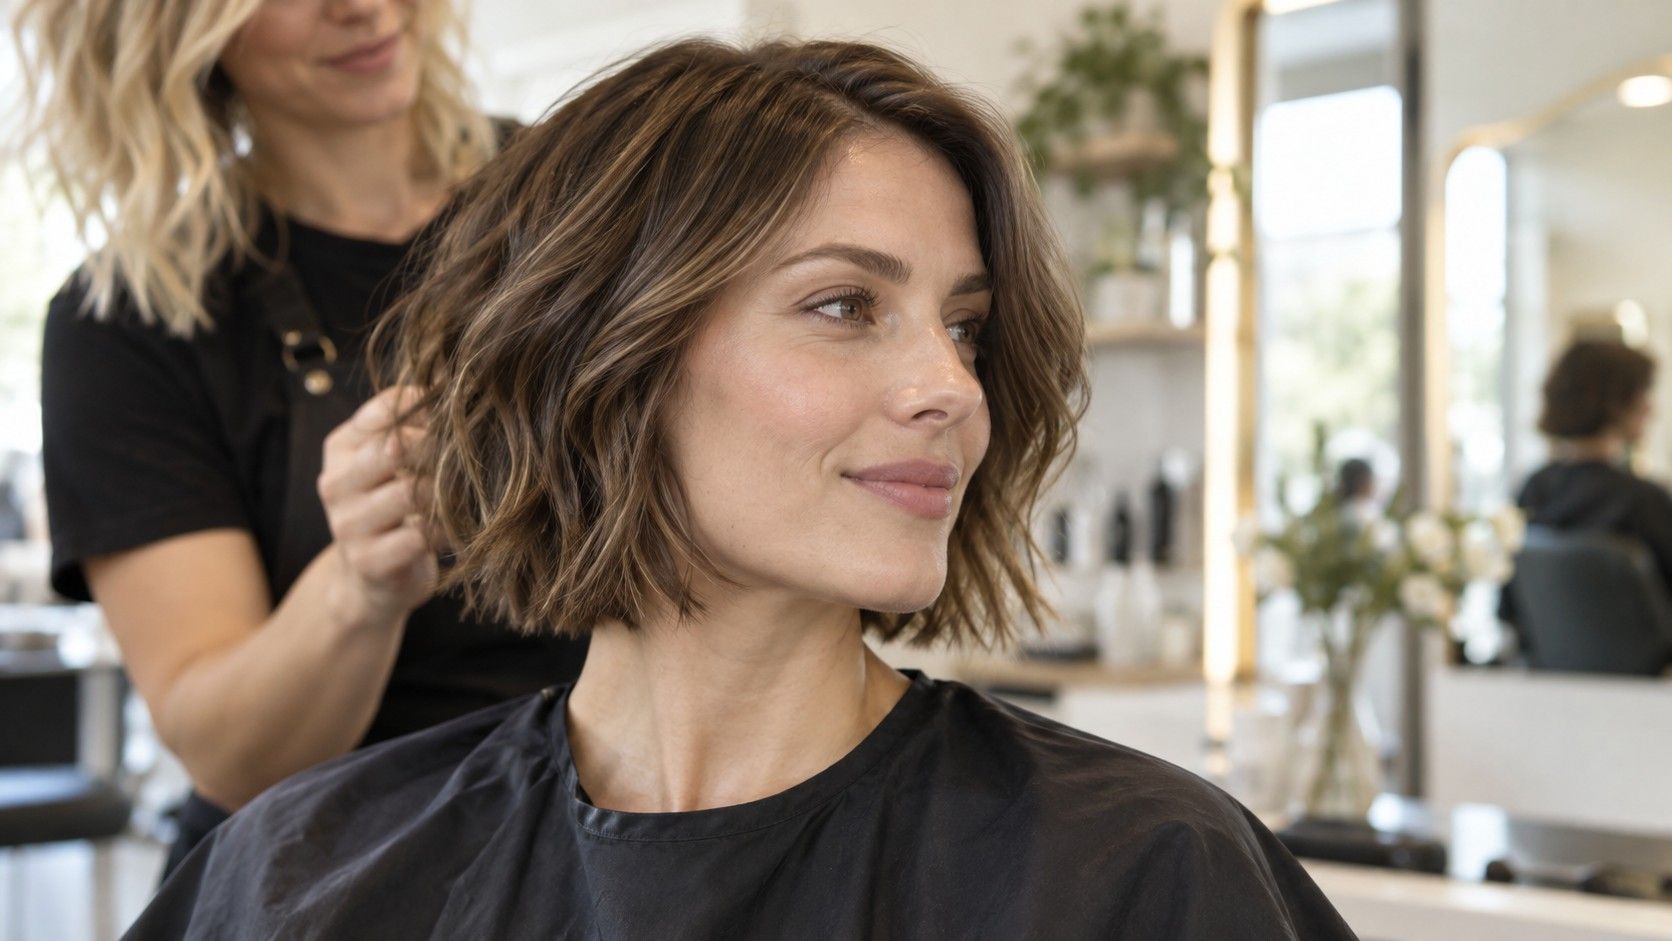
Keep one photograph with hair away and one with your normal hairstyle. A rounded bob may add an outer curve around a relatively angular jaw. Straight hair can cover the jaw corners and leave only a narrow curved section visible. I find the pair more useful than a perfectly neat tracing: one shows the facial boundary, while the other shows what a haircut or frame will actually sit beside.
Follow the jaw from the ears toward the chin
Look at where the lower outline changes direction. On a commonly described round face, the cheeks and lower face tend to form a softer, continuous curve. On a commonly described square face, the jaw corners tend to be more apparent, with a broader or straighter lower outline before the chin. Both descriptions allow variation. A square face does not need a sharp chin, and a round face does not need perfectly circular proportions.
Trace the visible boundary on a copy of your photograph if it helps. Start near each ear, follow the lower edge toward the chin, and stop before you start inventing corners hidden by hair or shadow. Compare the left and right sides separately. Small differences between them are normal in everyday appearances; forcing both into a symmetric diagram can remove the detail you were trying to understand.
Now look at the upper face. Square descriptions often involve a forehead and jaw that appear relatively comparable in width. Round descriptions more often place the greatest apparent width around the cheeks. These observations are supporting clues rather than rules. If your forehead tapers but the jaw is distinctly angular, record those two facts instead of struggling to squeeze the entire outline into one familiar drawing.
Separate cheek fullness from the outline beneath it
Full cheeks can make a face look rounded even when the jaw changes direction clearly. Conversely, strong lighting or a narrow smile can create sharp-looking areas on an otherwise curved outline. Return to the neutral photograph and look beyond the brightest highlight. The widest visible cheek area and the shape of the jaw answer different questions, so write each observation down separately.
You do not need to press, pinch or repeatedly feel your face to decide. This is a styling description, and the visible outline is the relevant material. If you cannot see a distinct corner in a consistent view, “soft jaw with broad cheeks” is enough to guide a trial. Avoid using weight, age or a single picture as an explanation for every difference between your face and a diagram.
Be cautious with automatic checkers that return a category without showing which landmarks they used. A different crop or hair placement may change the result. You can use the label as a prompt to inspect the jaw and cheek width, but it is not a measurement of attractiveness or a verdict on what you should wear. The useful output is a feature you can recognize in the mirror.
Compare frame contours while keeping the fit consistent
Try two frames of similar width, one with a curved contour and one with clearer corners. Keep their colour and thickness reasonably close if the shop has suitable options. Otherwise, you may be reacting to a dark heavy rim rather than the shape itself. Look from your normal conversational distance and with your hair arranged as you usually wear it. A close inspection alone can exaggerate minor differences.
Angular frames can echo a square jaw or create a different line against rounded cheeks. Curved frames can echo a round outline or contrast with jaw corners. Either effect can be appealing. The familiar advice to choose the opposite shape is a starting experiment, not a universal restriction. Decide whether you enjoy repetition, contrast, or simply a frame that is quiet enough to recede.
Do the practical checks before choosing. Smile, look down and turn your head. The frame should not rest uncomfortably on the cheeks or squeeze at the temples. Check that the bridge stays put and that your eyes sit appropriately within the lenses with help from the optician. A promising contour cannot rescue a pair that slips every time you read.
Plan a haircut around its dry outline and texture
Instead of asking for a haircut “for a round face,” identify the line you want to change or emphasize. Perhaps you want the jaw corners visible, some movement near the cheeks, or an open forehead. Pull sections back in the mirror and release them at different levels. A section ending beside the jaw draws attention there; one that passes below it creates a different boundary around the same face.
Hair texture changes this experiment. A smooth cut may sit close to the sides, while waves or curls can create width higher up. Wet length is an uncertain guide for hair that contracts during drying. Bring photographs of your own hair air-dried and styled so the person cutting it can discuss where the volume will settle. A reference picture with a different density is a useful idea, but an unreliable promise.
A square jaw does not require soft layers, and round cheeks do not require long hair. Short, blunt and rounded cuts can be deliberate choices on either outline. What matters is whether you like the resulting shape and can manage it. Ask how the fringe, side sections and neckline will behave between appointments, especially if your routine involves tying the hair back or leaving it to dry without heat.
Make the label earn its place in your decisions
If the evidence stays mixed, use a mixed description. “Broad cheeks and a gentle jaw corner” gives a stylist more usable information than a firm round label that you cannot explain. It also leaves room for personal taste. You may want to emphasize the corners with a blunt cut on one occasion and frame them with movement on another. Neither choice invalidates the outline you observed.
Keep a small record of successful trials: one frame contour you liked, where face-framing pieces ended, and whether the style was comfortable through a normal day. Include a photograph taken under familiar conditions. When a future recommendation conflicts with that experience, test it rather than accepting it automatically. The point of comparing round and square faces is to make your choices easier, not to collect another set of rules.