A face can look oval with its hair down and distinctly long with everything pulled back. That is an awkward basis for booking a fringe. The oval vs oblong face question becomes more useful when you separate the visible outline from the effect of the photograph, hair and styling. You do not need a perfect category to make a good choice. You need a reasonably consistent view of your proportions and a clear idea of what you want your hair or glasses to do.
Compare length in a view you can repeat
Start at a mirror with your head level and your expression relaxed. Pin back enough hair to see the forehead and both sides of the face. Keep any hairline wisps out of the way without pulling the skin tight. Look from the central hairline to the bottom of the chin, then across the widest visible part of the cheek area. Both oval and oblong descriptions usually involve more length than width. The distinction is about the overall impression of that length, rather than one isolated feature.
An oval outline tends to taper gradually from the cheek area toward the chin, with a curved jaw and a forehead that does not look sharply wider or narrower than everything below it. An oblong outline has a more extended appearance; the sides may look comparatively straight, and the forehead, cheeks and jaw can appear closer in width. These are descriptive tendencies. A long face with a tapered chin can reasonably borrow elements from both descriptions.
If measuring helps you concentrate, record the same landmarks twice. Use a flexible tape gently, or mark distances on one straight-on image without changing its proportions. Curving a tape around the cheek gives a different kind of measurement from a flat distance across a photograph, so avoid mixing the two. I would keep the notes as a comparison with myself, rather than use a decimal as permission to adopt a label. A slightly different hairline point can move the result.
Check whether the photograph is making your face narrow
A close selfie is a poor referee for a small distinction. Camera distance, head angle and the position of the lens can alter how the face appears. Take a second image with the camera farther away, approximately level with the middle of your face. Crop the picture afterward if needed. Keep the original shape of the image; dragging a portrait narrower to fit a screen can turn an ordinary oval into a misleadingly long outline.
Compare that photograph with your mirror view before tracing anything. A raised chin changes the visible lower face, while a lowered chin can hide part of the jaw. Strong side lighting creates shadows that may look like a narrower boundary. Aim for soft light from the front and a neutral expression. This is a practical consistency check, not an attempt to produce a laboratory portrait.
Hair also creates false edges. Straight dark lengths beside the cheeks can make a narrow central strip look like the whole face. A high bun adds height above the hairline even though it is outside the measured face. Inspect one picture with the hair pulled away and another with your everyday style. The difference explains why advice based on the bare outline sometimes feels irrelevant when you get dressed.
Test side volume before committing to a shorter cut
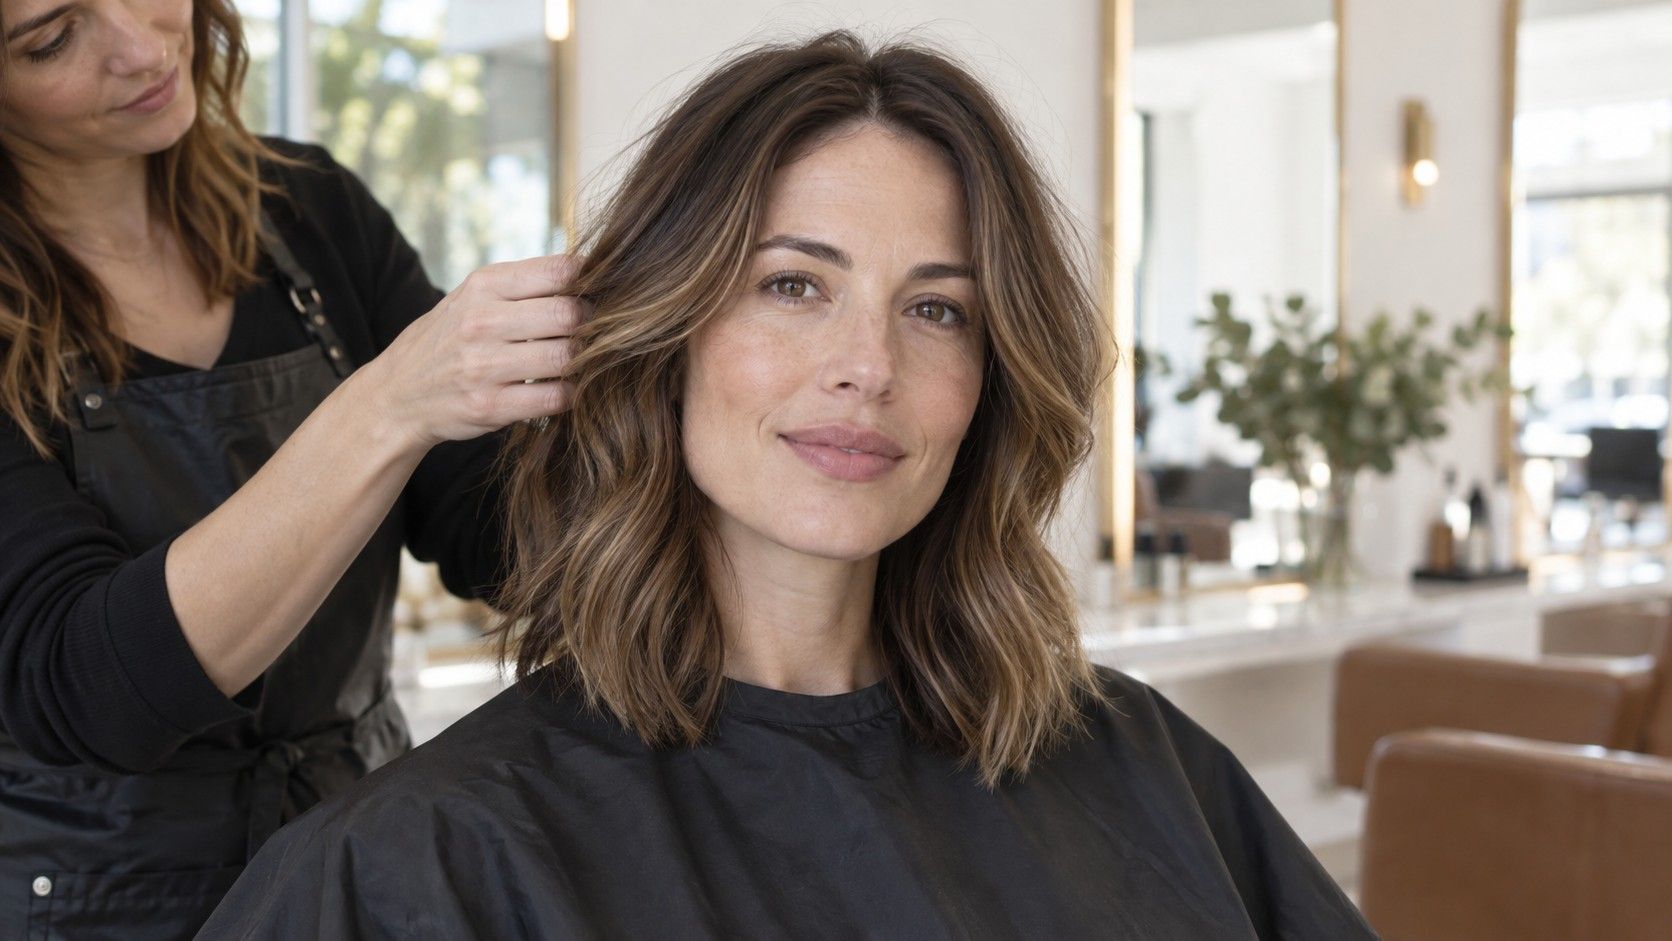
If you want a less elongated impression, try adding visible width near the cheeks or sides. You can do this temporarily by loosening a low ponytail, arranging existing waves beside the face, or pinning the upper section while leaving some width below. Take a front view and a three-quarter view. Width that looks balanced from the front can become an inconvenient puff beside the ears, particularly with dense or springy hair.
For an oval face, extra side volume is an option rather than a requirement. The same is true for an oblong face: keeping sleek lengths is a reasonable choice if you like the longer line. Decide which effect you actually prefer. A styling experiment is more informative when the question is “Do I like this width with my usual clothes?” than when you are searching for a compulsory correction.
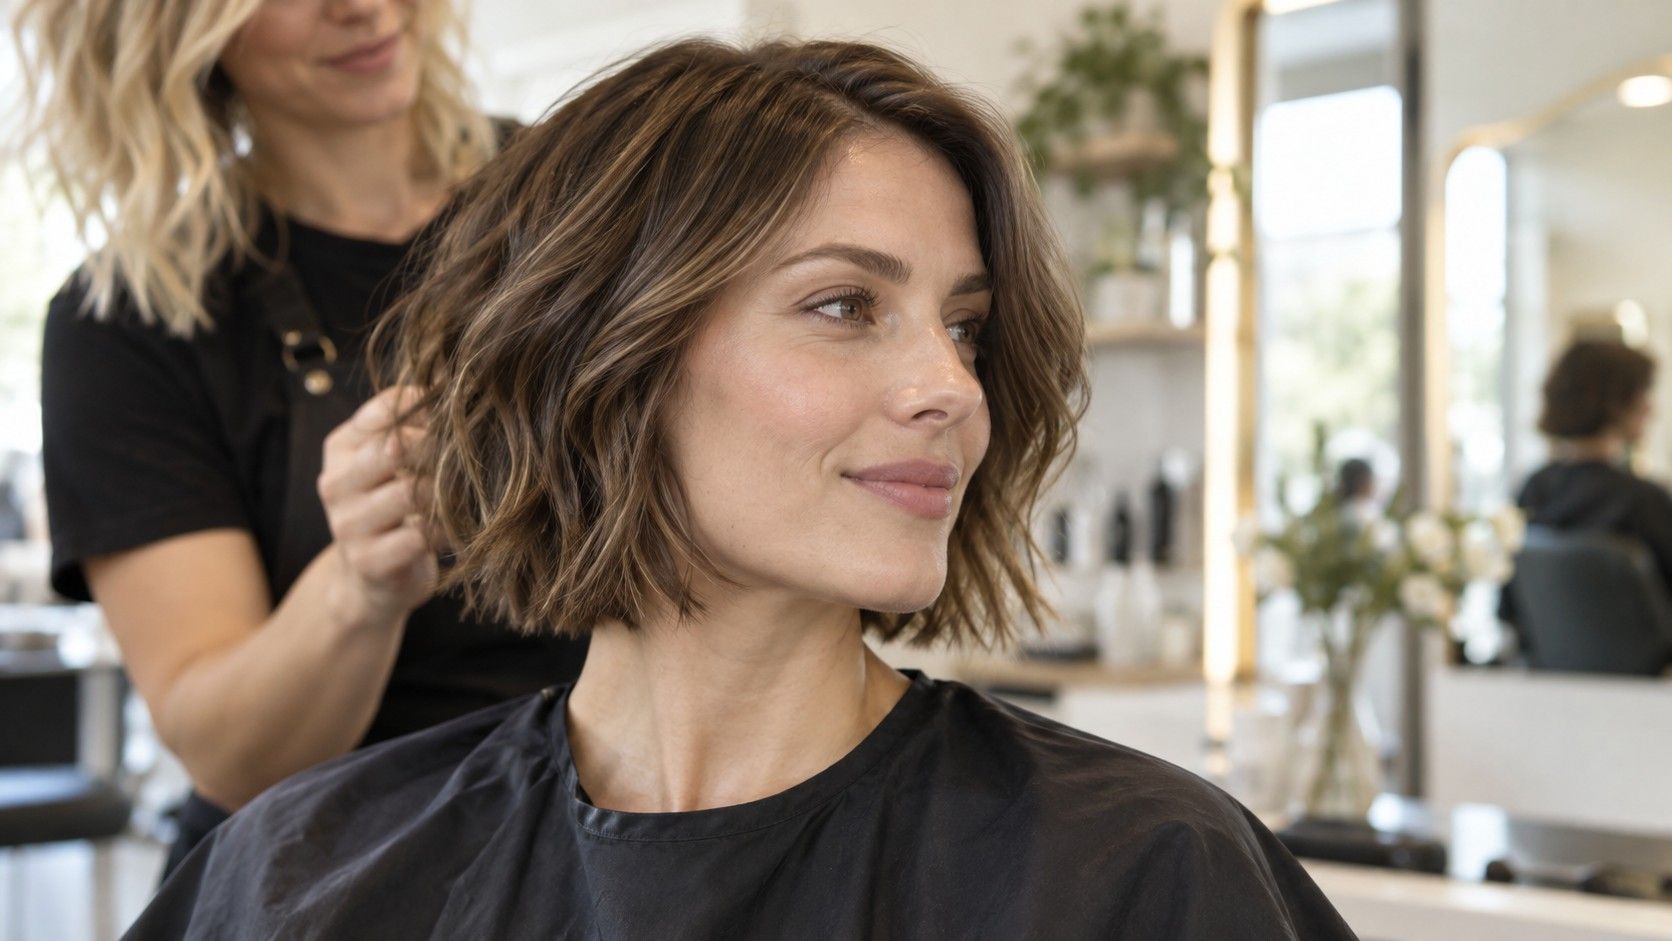
Notice where the volume starts and ends. Width near the temples has a different visual effect from width beside the jaw. A shoulder-length cut with a narrow crown and movement at cheek level will read differently from a tall crown with flat sides. Ask a stylist to show the likely dry outline, especially if your hair contracts as it dries. Bring a photo of your own successful styling day as well as a reference cut.
Choose a fringe around your morning routine
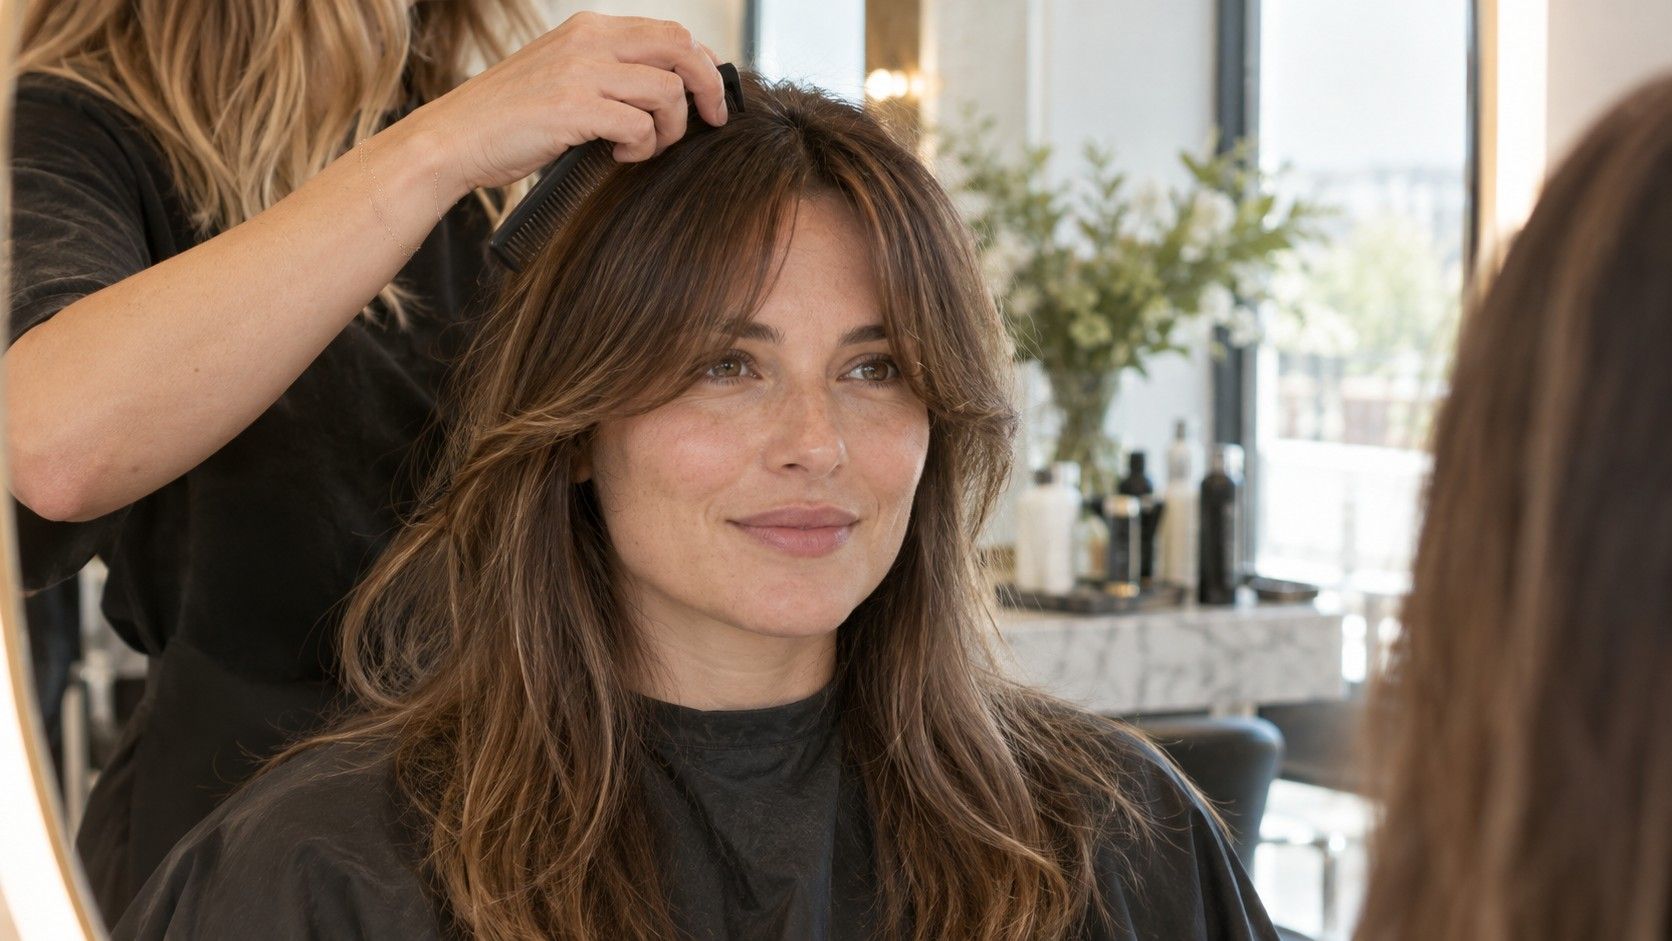
A fringe covers part of the forehead and can change the visible length of the face. Before cutting one, fold a front section inward and pin it loosely to approximate the coverage. The texture will not behave exactly like a finished fringe, but the experiment shows whether you enjoy having that area covered. Try the effect with glasses on if you wear them; the space between the fringe and the upper rim matters in daily use.
A full fringe, a loose curtain fringe and a longer side section have different maintenance demands. A full fringe may need a quick restyle after sleep or exercise. A curtain shape can open up through the middle and reveal more forehead than its reference photograph suggests. A cowlick near the hairline can change where either version separates. Discuss these details before deciding that an oblong label settles the question.
Think through ordinary interruptions: a windy walk, a helmet, a gym session, or a morning with no dryer available. Can you clip the fringe back comfortably? Will you want trims often enough to preserve its length? If you prefer a low-effort routine, longer face-framing pieces may suit your habits better. This decision is about the style you will maintain, rather than the image you can reproduce once.
Use glasses and accessories as small, reversible trials
Frame depth can change how much of the middle face is visually occupied. Compare a shallow frame with a slightly deeper one while keeping their overall width similar. This makes the trial easier to read than comparing two pairs that differ in every dimension. Check the result from your normal conversational distance, then look closely for cheek contact, slipping and pressure at the temples.
There is no need to treat elongated accessories as forbidden for an oblong face. Long earrings may be exactly the line you want. Equally, an oval outline does not guarantee that every frame will fit. Bridge shape, lens position and frame width still decide comfort. Keep the face-shape comparison in its proper place: it suggests an experiment, while the object on your face supplies the answer.
Keep a description that still helps next month
You may finish these checks with “oval with noticeable length” rather than a single firm category. That is a useful result. Write down the observations that affected your decisions: a gently tapered jaw, a longer forehead area, or a preference for width near the cheeks. Those details are easier to explain at a haircut appointment than an app label that changes between photographs.
Save two or three pictures taken under similar conditions when you genuinely like the styling. Include a side or three-quarter view, since hair has to work beyond one straight-on angle. If a later cut disappoints you, compare the placement of volume, the exposed forehead and the dry length before blaming the category. A face-shape word describes part of an outline. Your texture, comfort and taste do much more of the work.